FREE Fashion Drawing Lessons
Hey there you guys!! If you want to become a fashion designer or fashion illustrator, and you have no idea about fashion drawing or you feel intimidated by fashion figures, I have something ultra special and super helpful to get you started 🙂
So keep reading 😉
FREE Bootcamp with Fashion Drawing Lessons
But, first I’d like to talk a little about who should definitely learn fashion drawing, so you can determine if these free lessons are for you or not.
So, let’s get started!
Who should learn Fashion Drawing?
Both aspiring fashion designers and fashion illustrators should learn fashion drawing because it’s the foundation of every fashion illustration.
Aspiring fashion designers should learn fashion drawing so they can communicate their designs and ideas.
As fashion designers, we can’t work alone and produce everything ourselves. We have to work with a team, we have to share our ideas with the people involved in the production, and we also have to share our designs with buyers, customers, sales agents, etcetera.
And aspiring fashion illustrators must learn fashion drawing because it’s where the whole work begins. Most of the times we fashion illustrators start with a drawing of what will turn into an illustration.
And, although some illustrators don’t start with a drawing per se, they can start painting right away, but they already know what to paint and how to paint because they learned everything about fashion drawing, body and face proportions, and how clothing and different kinds of fabric look on the body.
Great, now that we’re clear that you need to learn fashion drawing whether you want to become a fashion designer or illustrator, let’s see what these free lessons are all about.
A couple of years ago I launched an online course on How to Draw Fashion Figures and Faces. It’s been quite a success among fashion beginners during these years, and it’s because I designed it to take you step-by-step through the method I teach. So you don’t feel intimidated by the process and steps it takes to create a fashion figure and a proportionate face.
This course comes with video lessons and an in-depth printable workbook that includes the cheat-sheets I designed specifically for this course. And, I’m giving away free access to some of the video lessons plus some great + juicy email lessons to everyone who signs up through the button below:
This bootcamp will be delivered through email, and it can be considered a mini-course because I’ll share 5 video + 6 email lessons that will help you get started with fashion drawing. So, even if you can’t join the premium paid course, I want you to be able to get started and take advantage of the training I’ve created for you.
When you sign up for the FREE fashion drawing lessons, you’ll receive one email per day during eight days, with one lesson each day.
The Video Series lessons are these:
- What’s fashion drawing and who is it for?
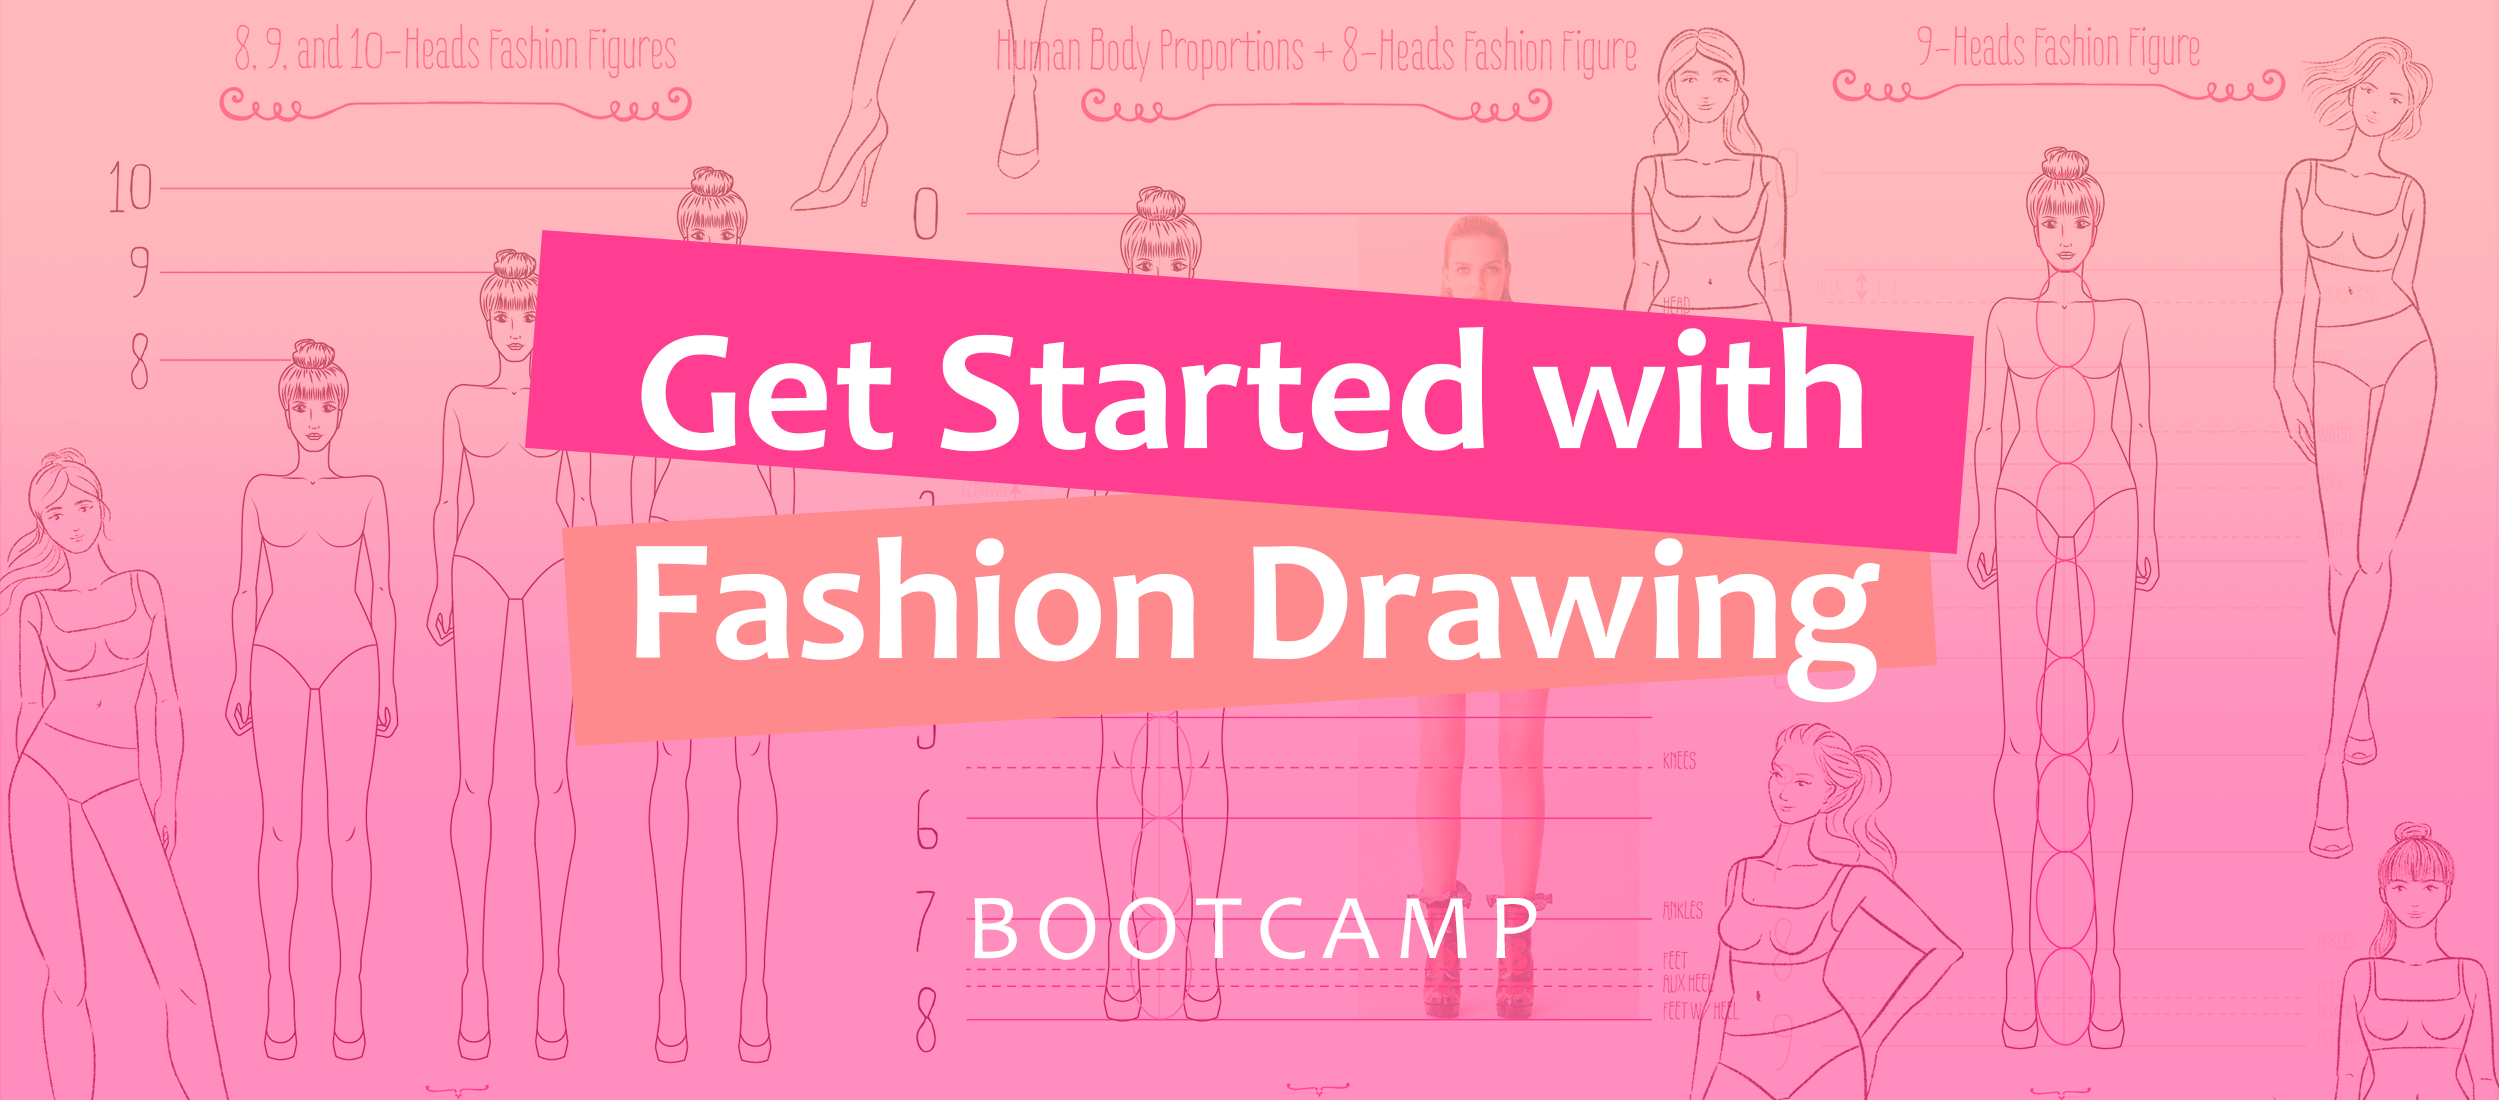
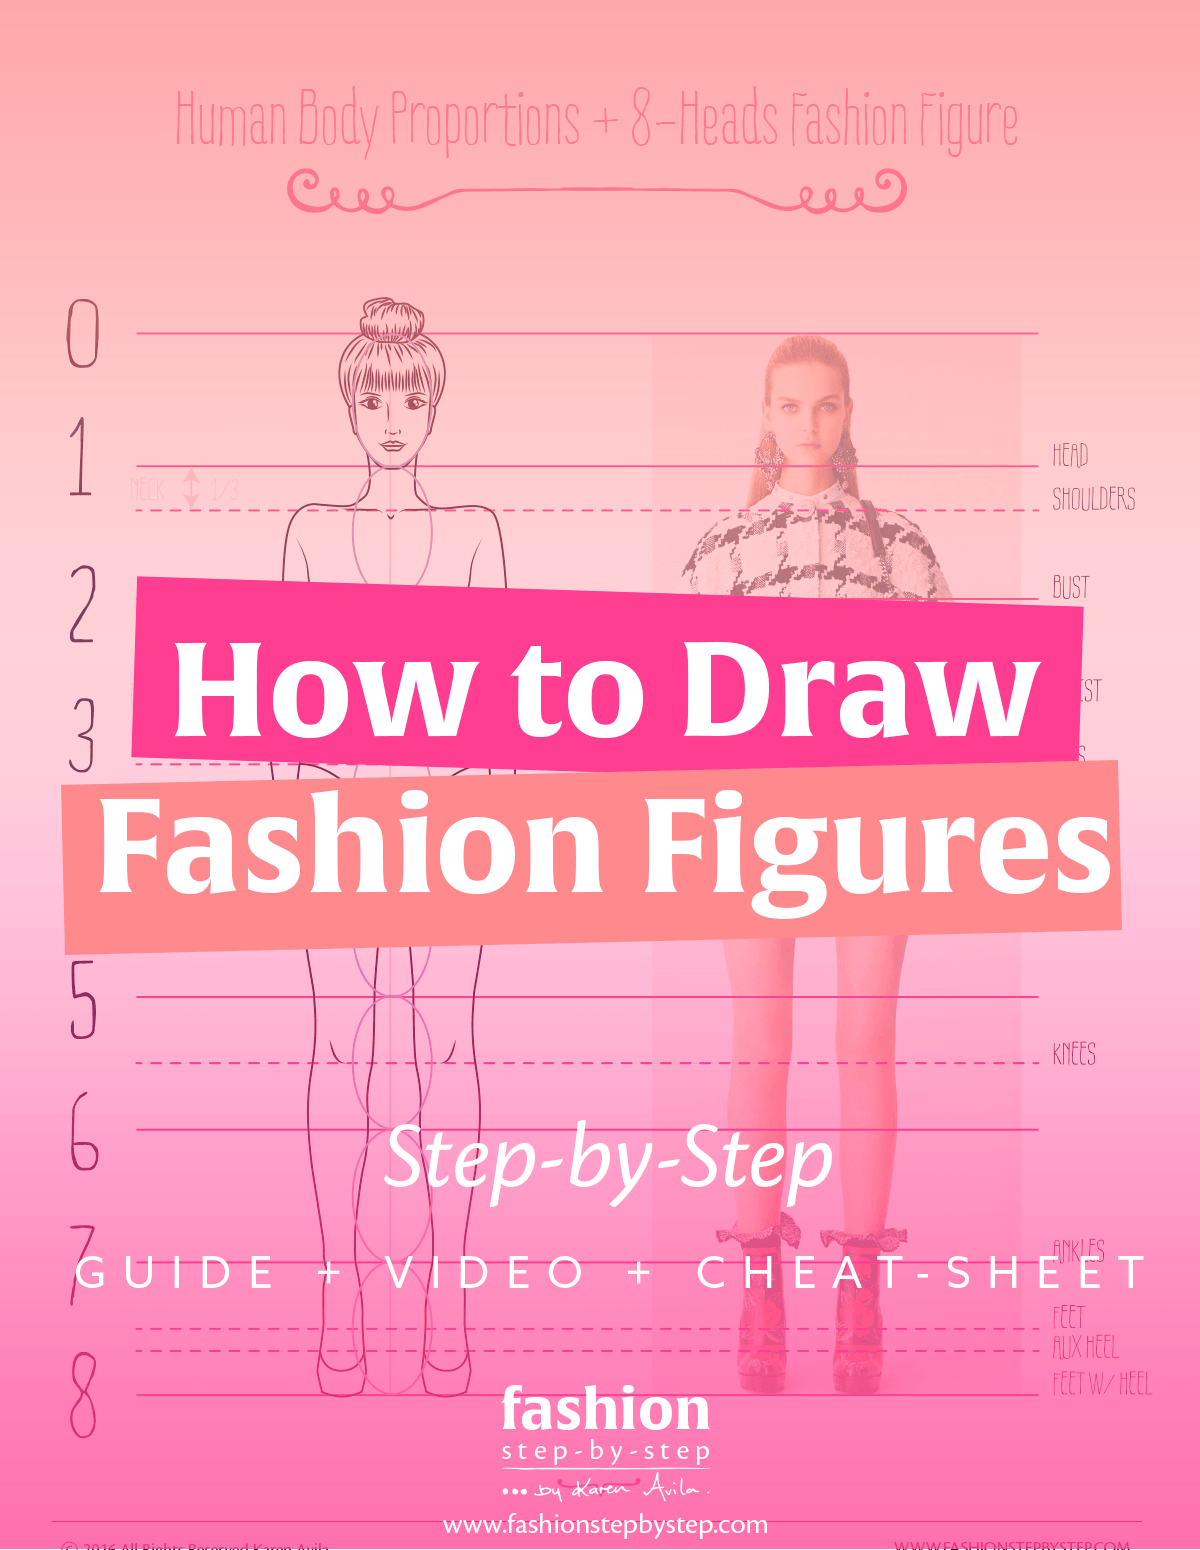
- What are fashion figures?
- Types of fashion figures + their proportions
- Tools for fashion drawing
- Fashion drawing preliminary exercises
And the Email Lessons are all about demystifying fashion drawing + rookie mistakes + essential fashion croquis. The lessons are these:
- Are you ready to learn fashion drawing? How can you know?
- 3 Mistakes you’re doing when drawing fashion figures + faces
- How to draw proportionate + beautiful fashion figures. You need a method, and this is the one I love.
- Take your work / portfolio / collection / Instagram feed from ultra boring to drop-dead gorgeous!
- 4 Essential Fashion Figures Poses for Fashion Designer + Illustrators
- Take your next step NOW to be where you want to be and become who you want to become
Plus, you get a SPECIAL PRICE in my course Drawing Fashion Figures + Faces 😉
That’s it for today! Now tell me in the comments:
- What do you want to become a fashion designer or illustrator, and what’s your biggest struggle with fashion drawing?
See you on the next post…. Bye!!
![]()


 P.S: Are you excited about these fashion drawing lessons?